
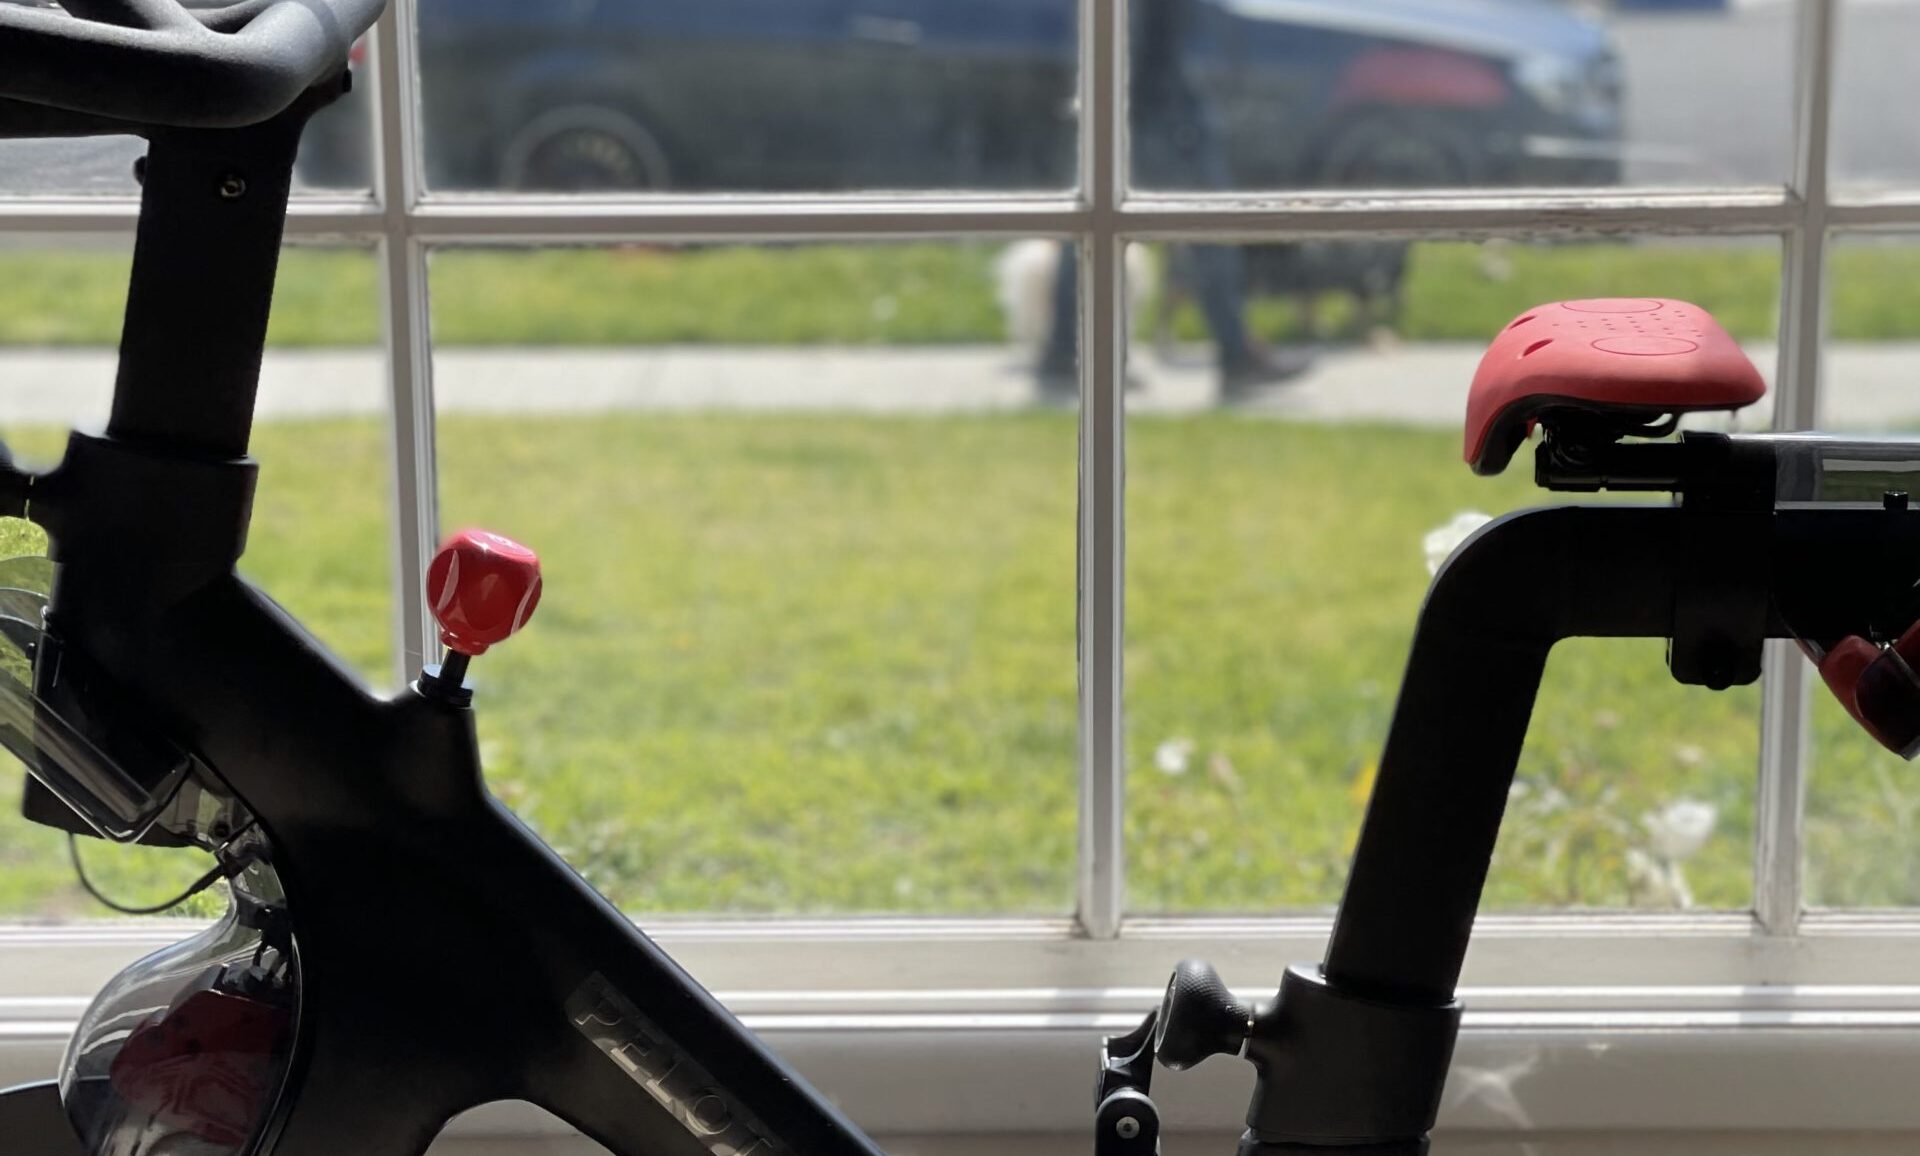
Installing a noseless bike seat on a Peloton and other exercise bikes:
Instructions for the VSEAT® Installation
Peloton bike seats and other modern indoor exercise bike seats, as well as the overwhelming majority of bike seats and stem systems (bike seat posts) for all other modern bike types, have standardized the way most bike seats attach to the stem system (bike seat post) of the bike.
Underneath the seat are affixed two bars (known as bike seat rails) that run along the seat from front to back. These bars (rails) are used by mounting hardware (bracket) to securely attach the bike seat to the bike seat post.
The mounting hardware (bracket) may vary based on your particular bike seat post, but generally allows for fine-tuning of the position of the seat on multiple axes.
This generally includes 1) tilt/pitch, and 2) forward-back position (changing the distance between the front of the seat and the handlebars).
🛠️ Tools You’ll Need
- 13mm socket, or
- Open-end adjustable crescent wrench
Follow these 6 steps to quickly and easily install your VSEAT® noseless, bumpless bike seat.
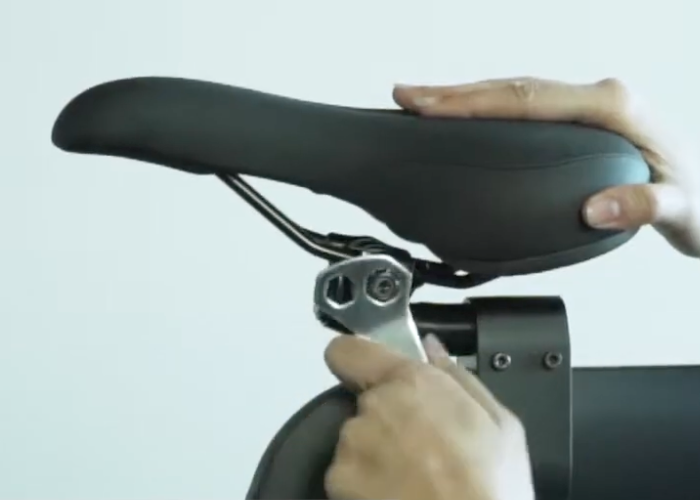
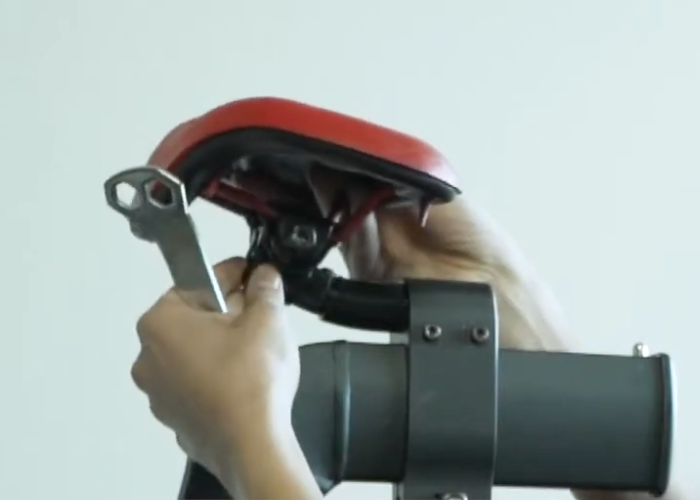
STEP 1: Loosen Nuts on Old Seat
Use your 13mm socket or adjustable wrench to loosen the nuts on both sides of the seat underneath the rails. These nuts secure the seat to the seat post via the mounting bracket.
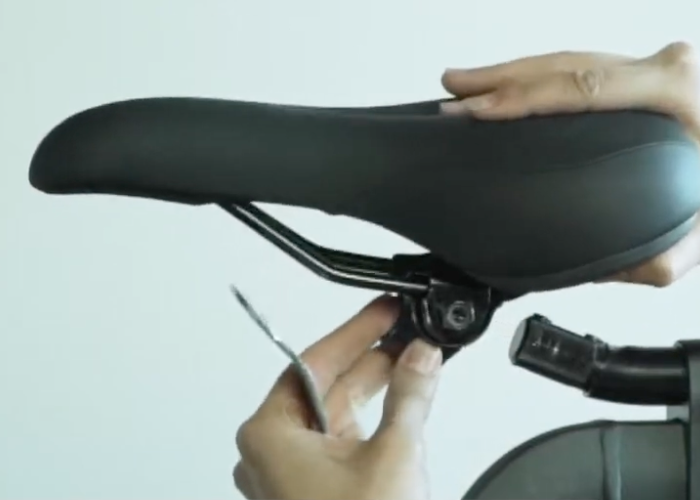
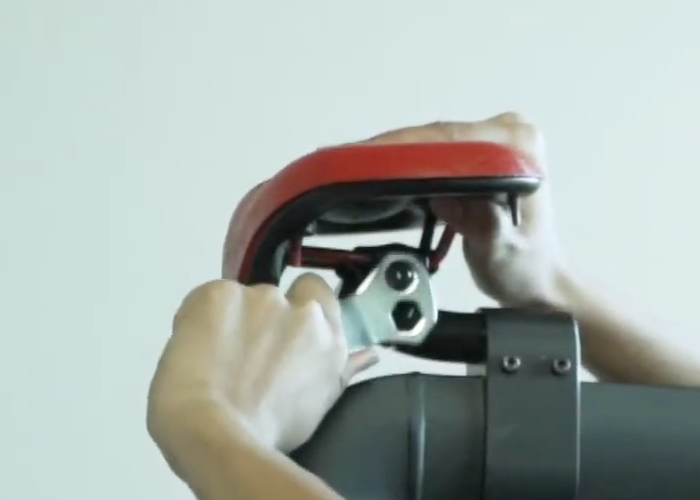
STEP 2: Remove Old Seat
Once the nuts are loosened, slide the seat and mounting bracket off the seat post. In some cases, you may need to remove the nuts completely to release the seat.
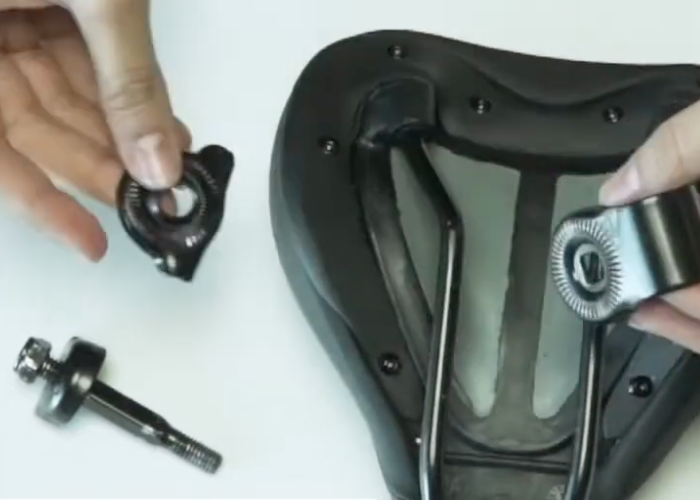
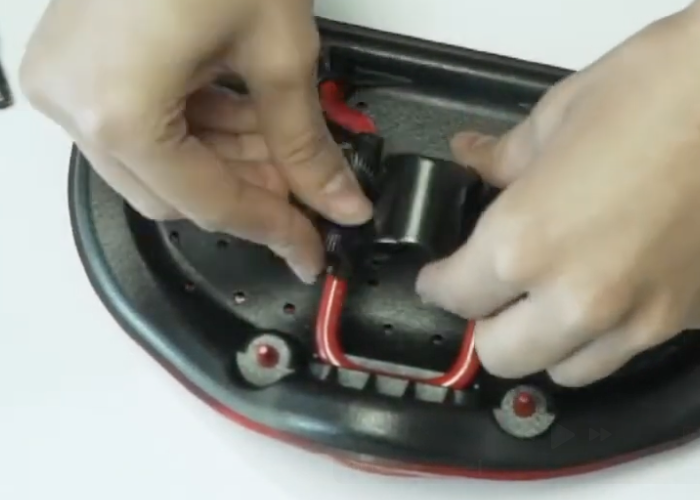
STEP 3: Remove Bracket from Seat
Turn the seat over and remove the mounting bracket by loosening the nuts and bolts connecting it to the seat rails.
STEP 4: Attach Bracket to VSEAT®
Use the same hardware from the old seat to attach the bracket to the VSEAT®. Leave it loosely attached so you can adjust the fit later.
🎥 Watch installation video: https://youtu.be/Pso0-lglCMM
STEP 5: Slide VSEAT® onto the Seat Post
With the bracket loosely secured to the VSEAT®, slide it onto the bike’s seat post. Keep the nuts loose so you can fine-tune the fit.
STEP 6: Adjust Fit & Tighten Into Place
Once the VSEAT® is positioned to your comfort, tighten the nuts securely.
🎥 Watch fit optimization video: https://youtu.be/OYjTWdct6_U
✅ Quick Summary
- Tool needed: 13mm socket or crescent wrench
- Step 1: Loosen bolts on old seat
- Step 2: Carefully remove old seat
- Step 3: Remove bracket from old seat
- Step 4: Attach bracket to the new VSEAT®
- Step 5: Slide VSEAT® onto the seat post
- Step 6: Adjust and tighten bolts to secure VSEAT®
💡 Tip: If you’re switching from a traditional saddle to a VSEAT® for the first time, you may need to spend a few rides adjusting its angle and position for the best comfort and posture.