Category: Product

  • The Most Comfortable Bicycle Seat You’ve Never Tried

    The Most Comfortable Bicycle Seat You’ve Never Tried

    If you’ve ever cut a ride short—or skipped one entirely—because you knew you’d be paying for it later, you’re not alone. For many riders, saddle soreness isn’t just a mid-ride nuisance; it’s a multi-day reminder that your seat isn’t working for you.

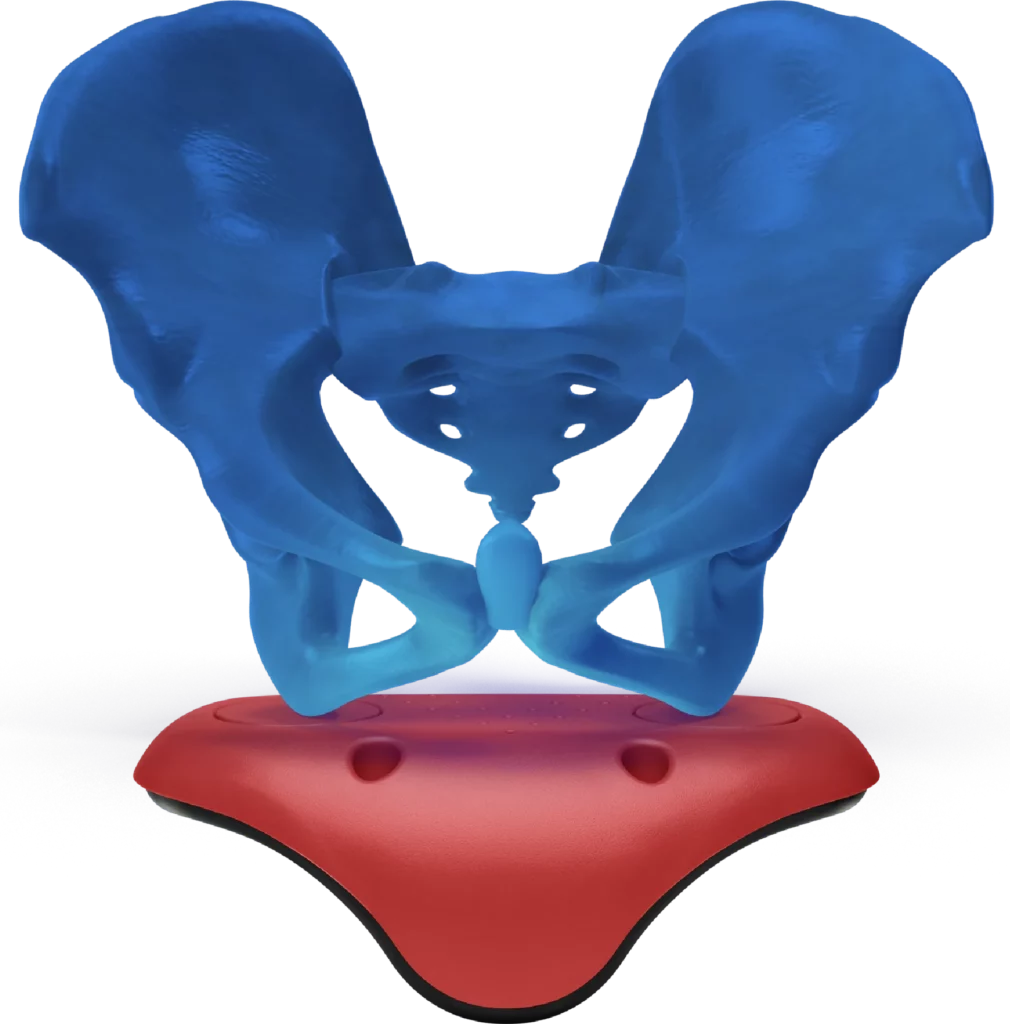
    The Anatomy of Bicycle Seat Discomfort

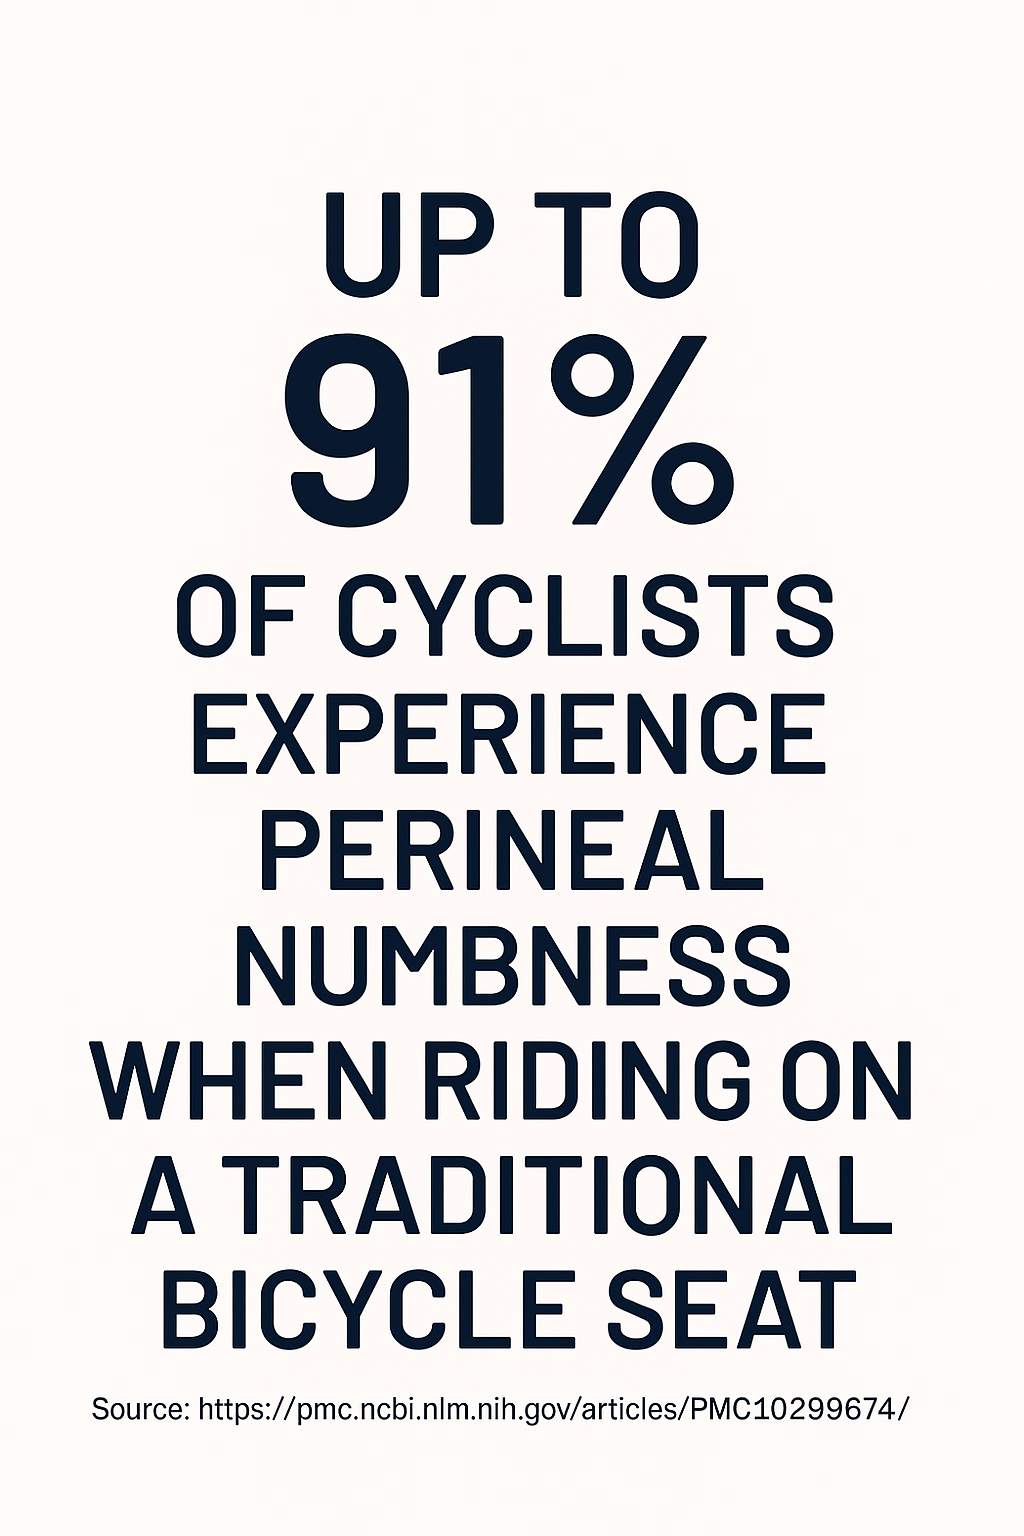
    Traditional bike seats put pressure on the perineum—where soft tissue, nerves, and arteries converge—causing numbness, tingling, and worse.

    What Actually Makes a Seat Comfortable?

    Angled front view of VSEAT® highlighting wide and flat sit bone support zone

    It’s not just about padding. True comfort comes from proper sit bone support, a flat and wide base, and pressure relief where it matters most.

    Don’t let your bike seat keep you from your activity goals—if you struggle with saddle soreness (which nearly EVERYONE does), it’s time to make a change.

    The Case for Ergonomic, Noseless Seats

    Studies show traditional seats reduce blood flow by up to 80%.

    If you’re interested in a deeper dive on the health benefits of a noseless, bumpless bicycle seat, here are a number of additional health considerations.

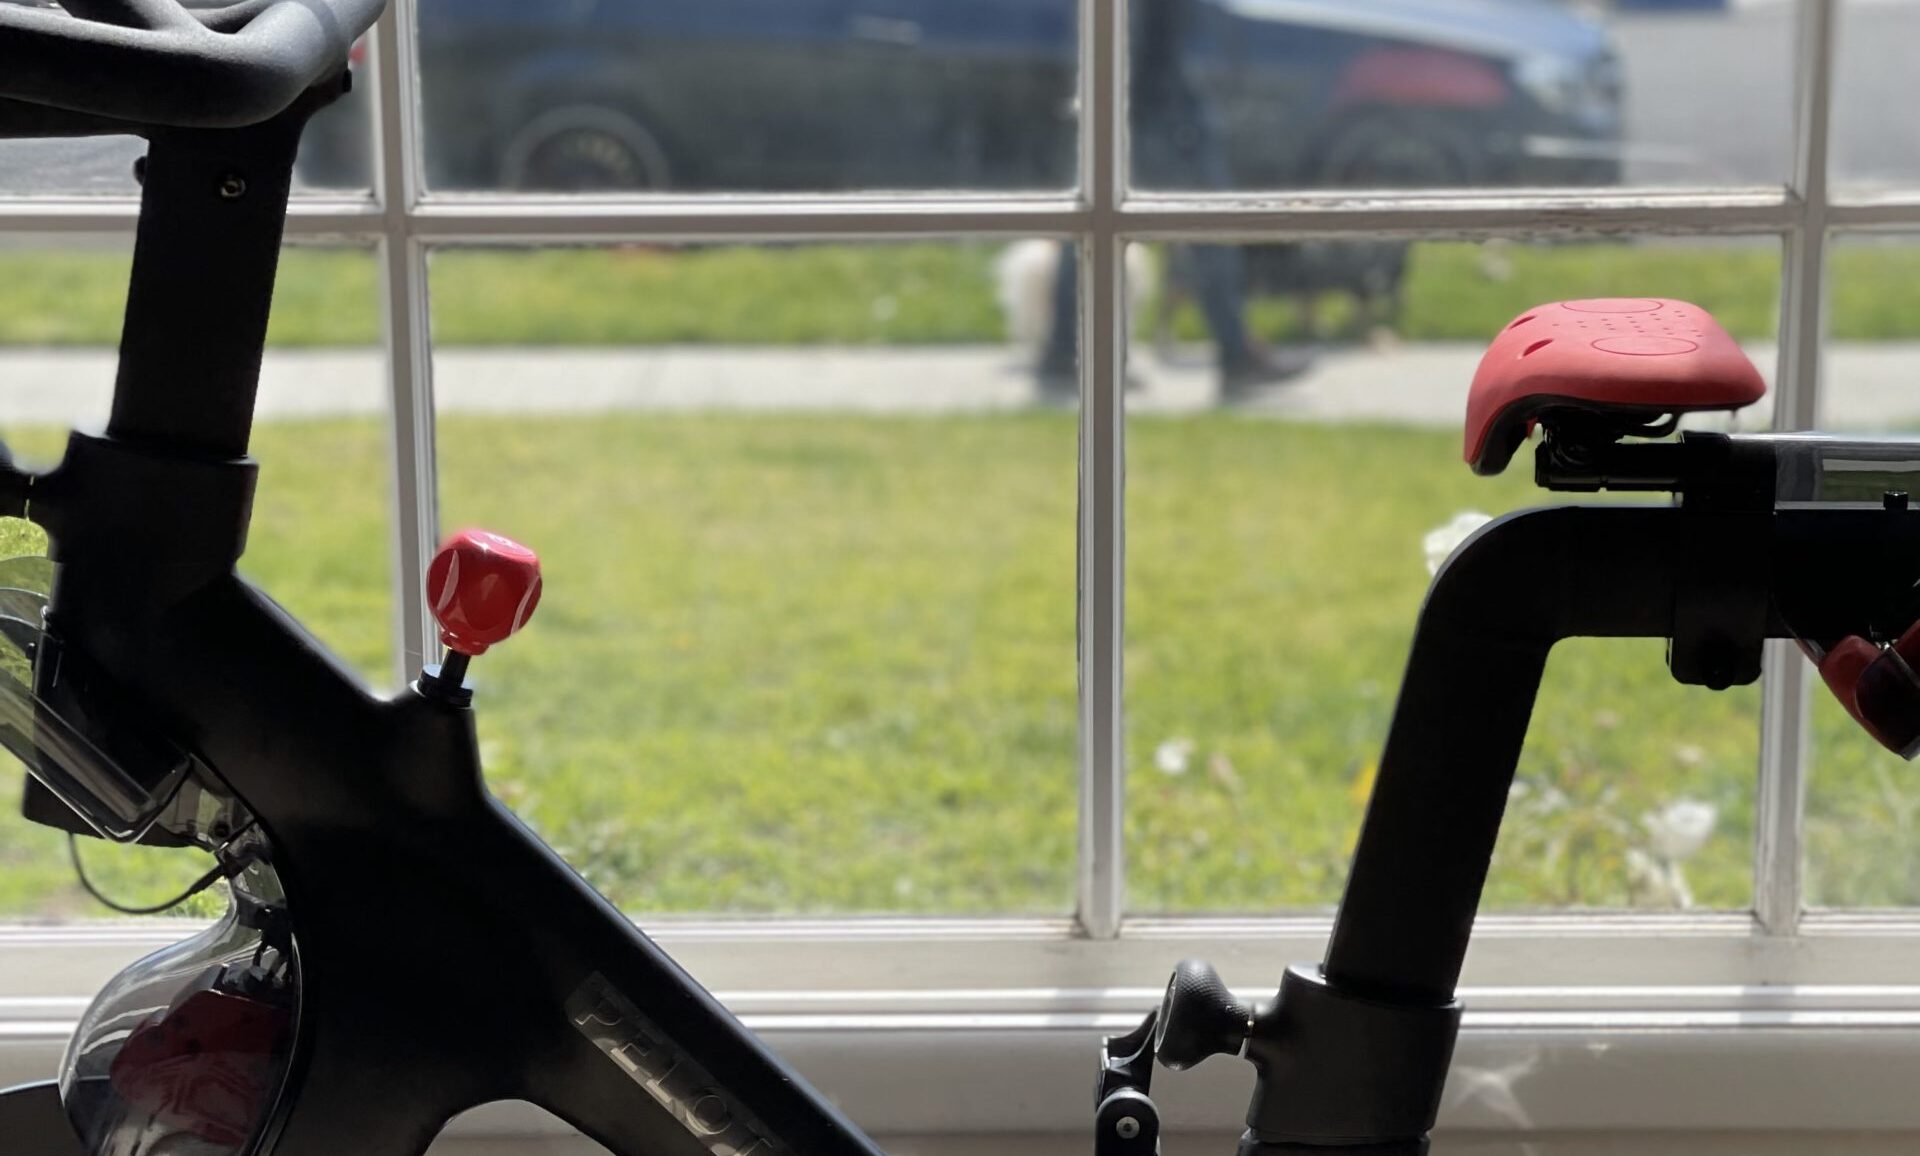
    Noseless designs like the VSEAT® eliminate pressure on the perineum and improve circulation and comfort.

    Why the VSEAT® Is the Clear Alternative

    Close-up image of VSEAT® bike seat showing ergonomic, noseless, bumpless design.
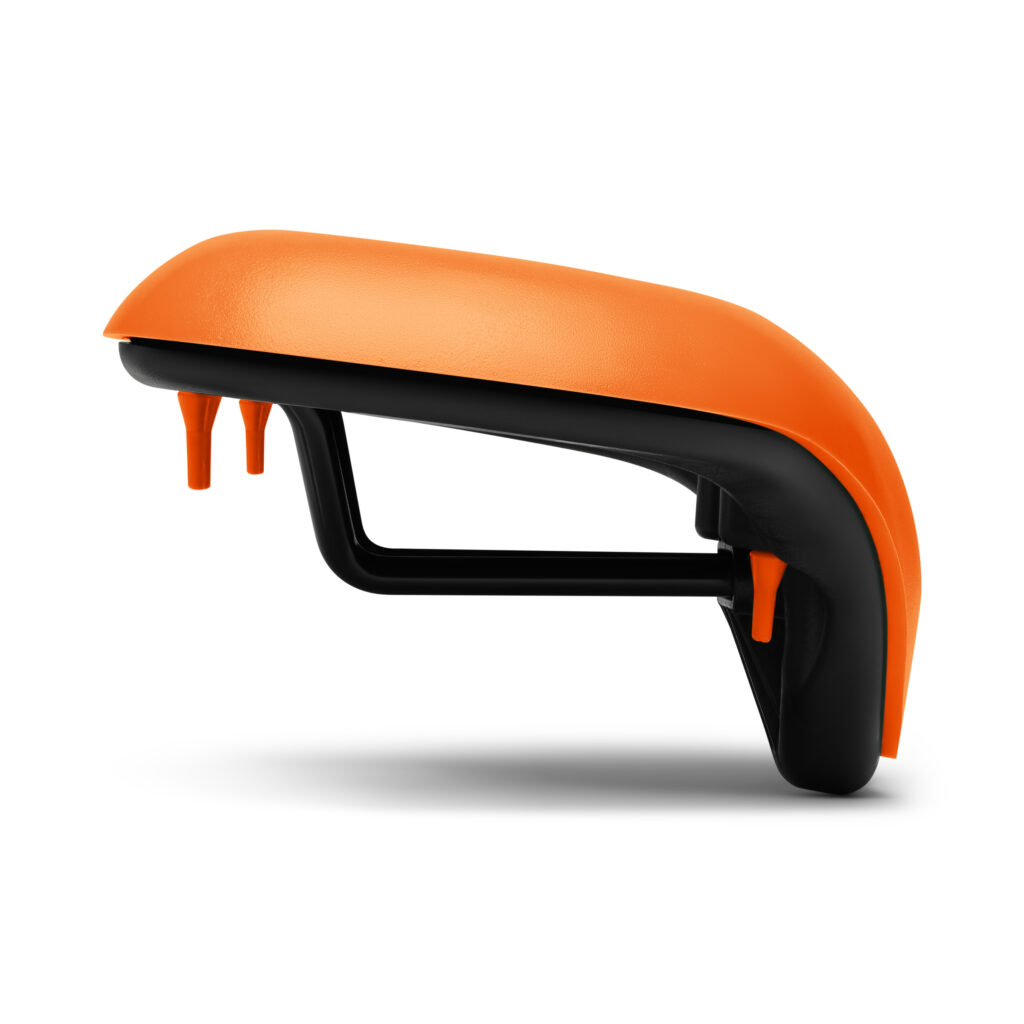
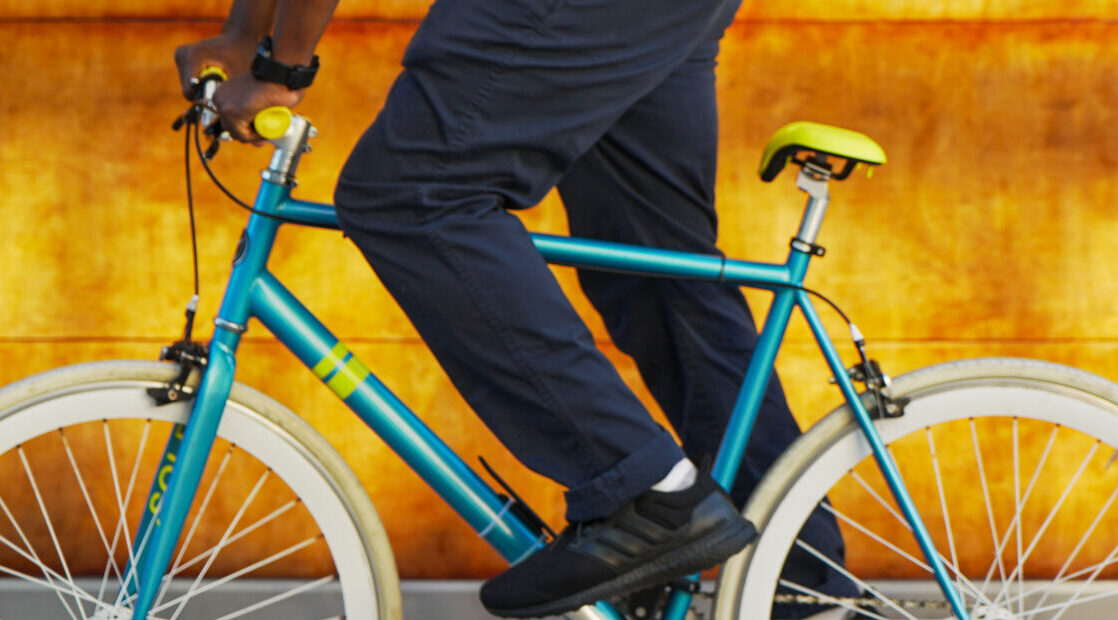
    • Noseless and bumpless design
    • Wide, flat sit bone platform
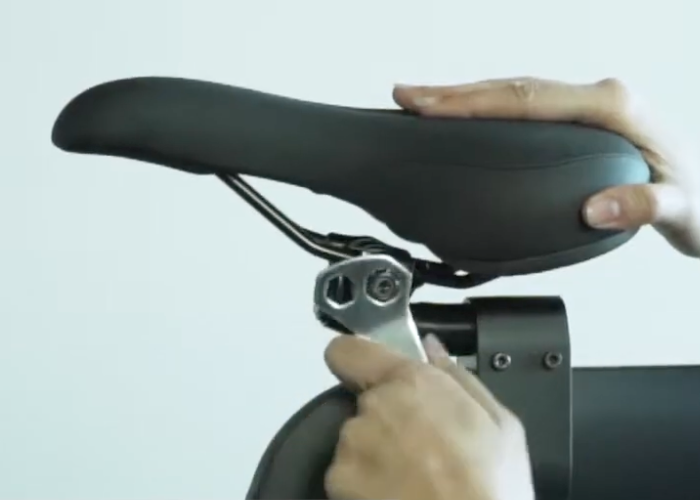
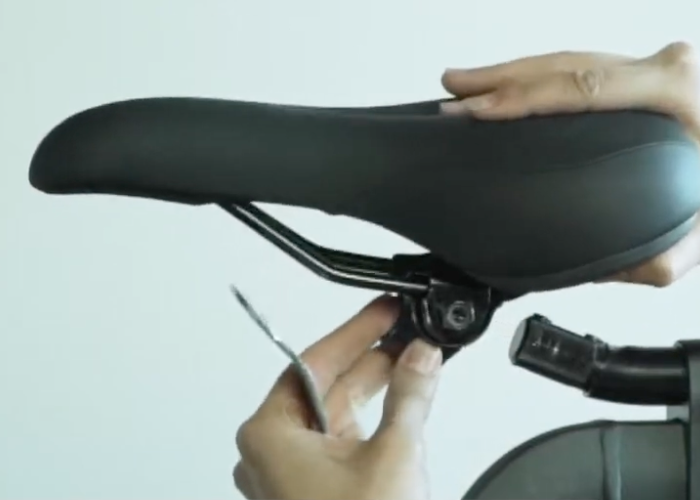
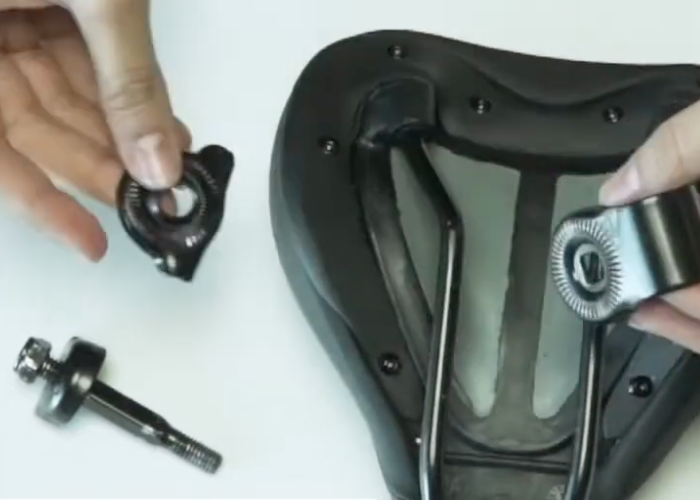
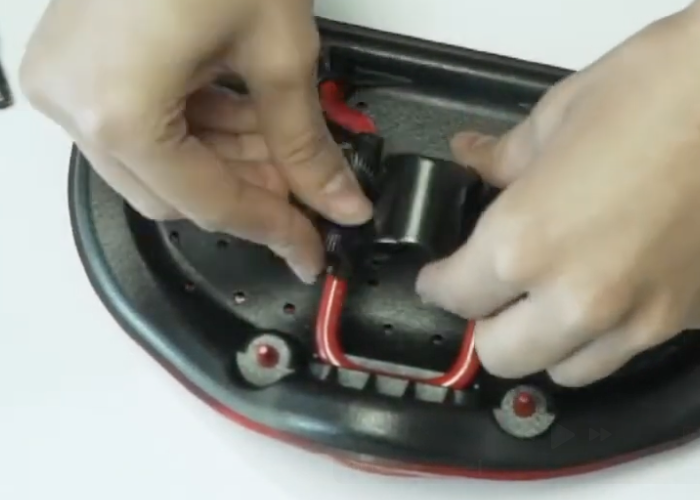
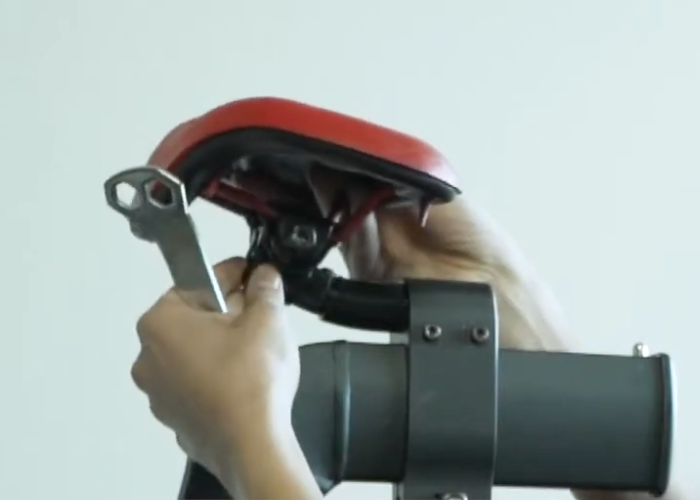
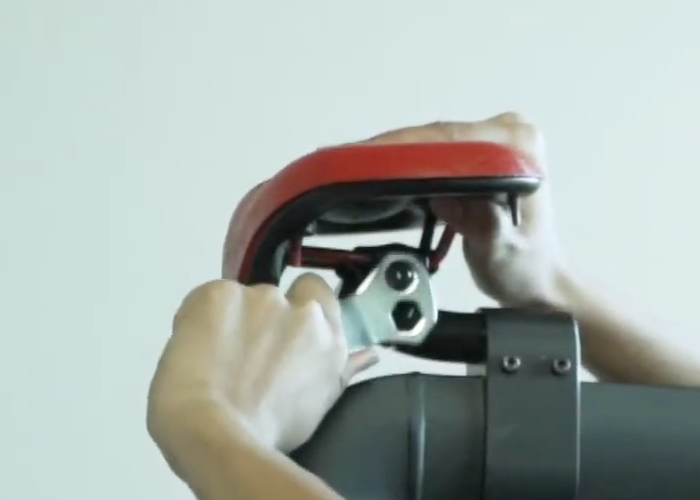
    • Universal attachment system
    • Lightweight, easy to clean, gender-inclusive design

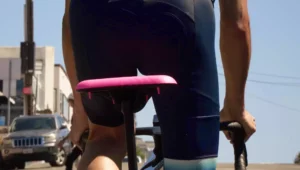
    Works with Any Bicycle Type

    Real Riders, Real Relief

    I ride on very rocky rough road – no more saddle sores since riding VSEAT. Great seat – don’t hesitate to try it.
    Barb
    Such a unique saddle design. The normal pain of riding is gone, love it.
    Martin
    The VSEAT is very comfortable. At last I can use my exercise bike.
    James C.
    Awesome change from a standard bicycle seat! I am so impressed with this seat that I have been recommending it on my business web page and social media.
    Michael H.
    No bike shorts! NO PAIN during or after!!!
    Mary W.
    This lives up to its promise. It’s amazing and a genius idea. Game changer!
    Jill L.
    This seat is honestly a game changer. After you get used to it, it is the most comfortable pain-free riding you’ll ever have. Best of all, I don’t have to wear the awkward padded shorts.
    Kevin C.
    I have gone on two longer bike rides now and it is so comfortable! Love my new seat!!! By the way, I am 71—so it is great that finally someone got rid of the old seats!
    Lynette L.

    Conclusion: Ride Better, Ride Longer, Ride Pain-Free

    The VSEAT® isn’t just a seat—it’s a solution. Try one and see why thousands of riders are making the switch. Your body will thank you.

  • Installing a noseless bike seat on a Peloton and other exercise bikes

    Installing a noseless bike seat on a Peloton and other exercise bikes

    Installing a noseless bike seat on a Peloton and other exercise bikes:

    Instructions for the VSEAT® Installation

    Peloton bike seats and other modern indoor exercise bike seats, as well as the overwhelming majority of bike seats and stem systems (bike seat posts) for all other modern bike types, have standardized the way most bike seats attach to the stem system (bike seat post) of the bike.

    Underneath the seat are affixed two bars (known as bike seat rails) that run along the seat from front to back. These bars (rails) are used by mounting hardware (bracket) to securely attach the bike seat to the bike seat post.

    The mounting hardware (bracket) may vary based on your particular bike seat post, but generally allows for fine-tuning of the position of the seat on multiple axes.

    This generally includes 1) tilt/pitch, and 2) forward-back position (changing the distance between the front of the seat and the handlebars).

    🛠️ Tools You’ll Need

    • 13mm socket, or
    • Open-end adjustable crescent wrench

    Follow these 6 steps to quickly and easily install your VSEAT® noseless, bumpless bike seat.

    STEP 1: Loosen Nuts on Old Seat

    Use your 13mm socket or adjustable wrench to loosen the nuts on both sides of the seat underneath the rails. These nuts secure the seat to the seat post via the mounting bracket.

    Step 1 - peloton installation

    STEP 2: Remove Old Seat

    Once the nuts are loosened, slide the seat and mounting bracket off the seat post. In some cases, you may need to remove the nuts completely to release the seat.

    STEP 3: Remove Bracket from Seat

    Turn the seat over and remove the mounting bracket by loosening the nuts and bolts connecting it to the seat rails.

    STEP 4: Attach Bracket to VSEAT®

    Use the same hardware from the old seat to attach the bracket to the VSEAT®. Leave it loosely attached so you can adjust the fit later.

    🎥 Watch installation video: https://youtu.be/Pso0-lglCMM

    STEP 5: Slide VSEAT® onto the Seat Post

    With the bracket loosely secured to the VSEAT®, slide it onto the bike’s seat post. Keep the nuts loose so you can fine-tune the fit.

    STEP 6: Adjust Fit & Tighten Into Place

    Once the VSEAT® is positioned to your comfort, tighten the nuts securely.

    🎥 Watch fit optimization video: https://youtu.be/OYjTWdct6_U

    ✅ Quick Summary

    • Tool needed: 13mm socket or crescent wrench
    • Step 1: Loosen bolts on old seat
    • Step 2: Carefully remove old seat
    • Step 3: Remove bracket from old seat
    • Step 4: Attach bracket to the new VSEAT®
    • Step 5: Slide VSEAT® onto the seat post
    • Step 6: Adjust and tighten bolts to secure VSEAT®

    💡 Tip: If you’re switching from a traditional saddle to a VSEAT® for the first time, you may need to spend a few rides adjusting its angle and position for the best comfort and posture.