
Begin by turning your VSEAT® cover inside out. Line up the soft pad with the VSEAT®. Begin by folding the back over first, and finish with the front. There you have it! You’re ready to go for a ride!
Archives: Installation Instruction Videos
-
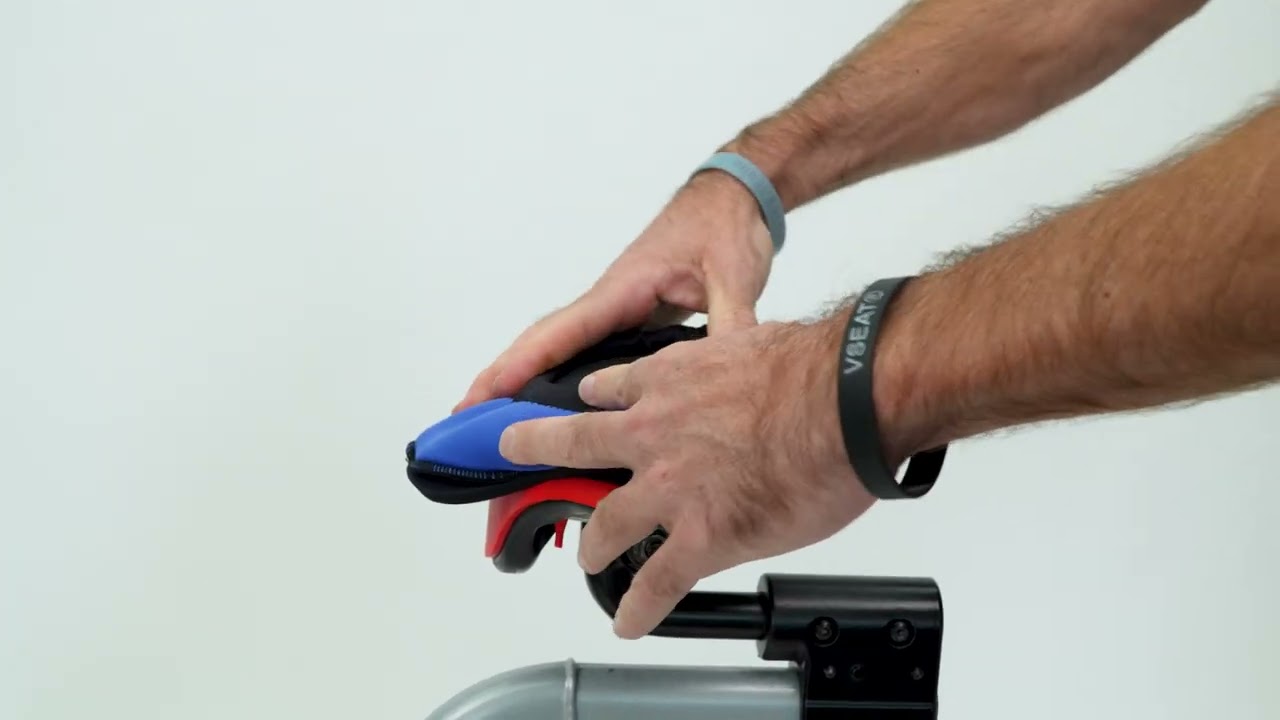
How to Install Your VSEAT® (Allen Wrench Bracket)
We’re going to show you how to install the VSEAT® on a single bolt allen wrench bracket. My personal favorite brackets. I think all bicycle seat brackets should be made this way because they’re so simple. Okay tighty righty, loosy lefty. Let’s loosen it up there. We loosen it enough so the top part of the bracket can lift up enough. We turn it 90 degrees. We lift the bracket off the top or the seat off the top. We’re going to grab our VSEAT®. We’re going to put our VSEAT® back on top of the rails.
We rotate that part of the bracket so that it locks back down. Put a little bit of pressure on the top and we tighten this back down. Make sure our seat’s straight. Give it one more snug. There it is thank you.
-
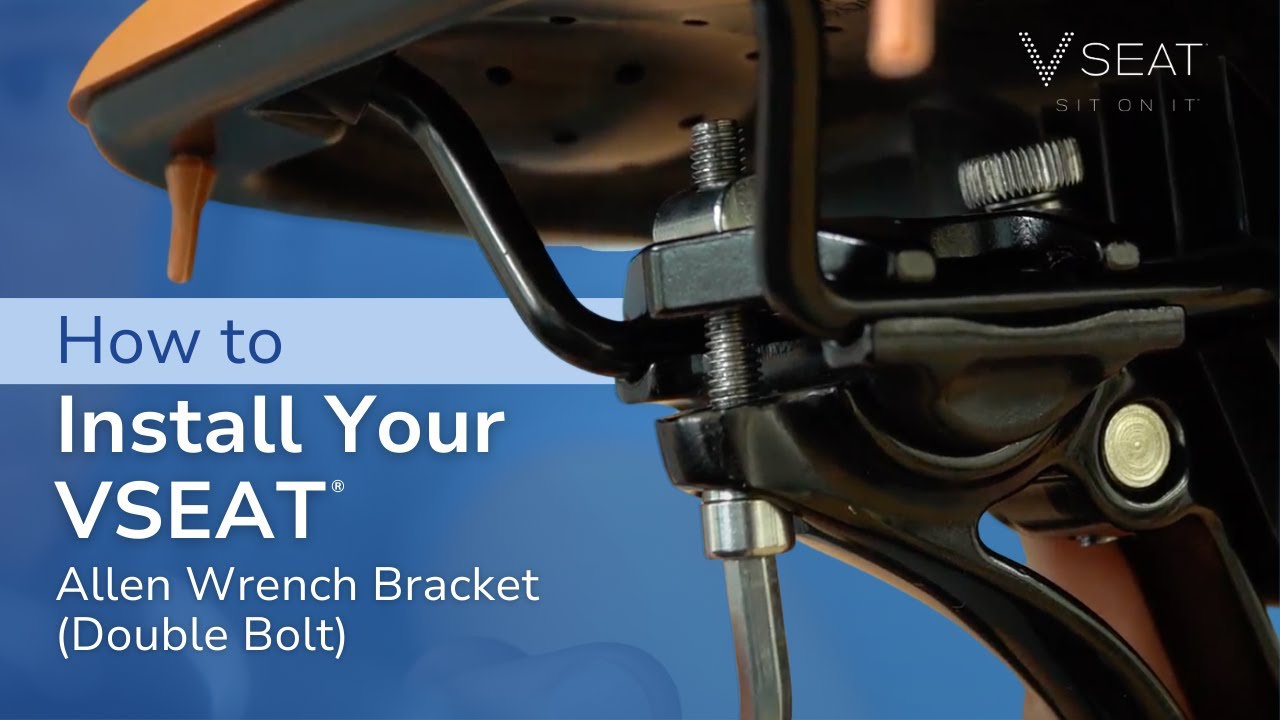
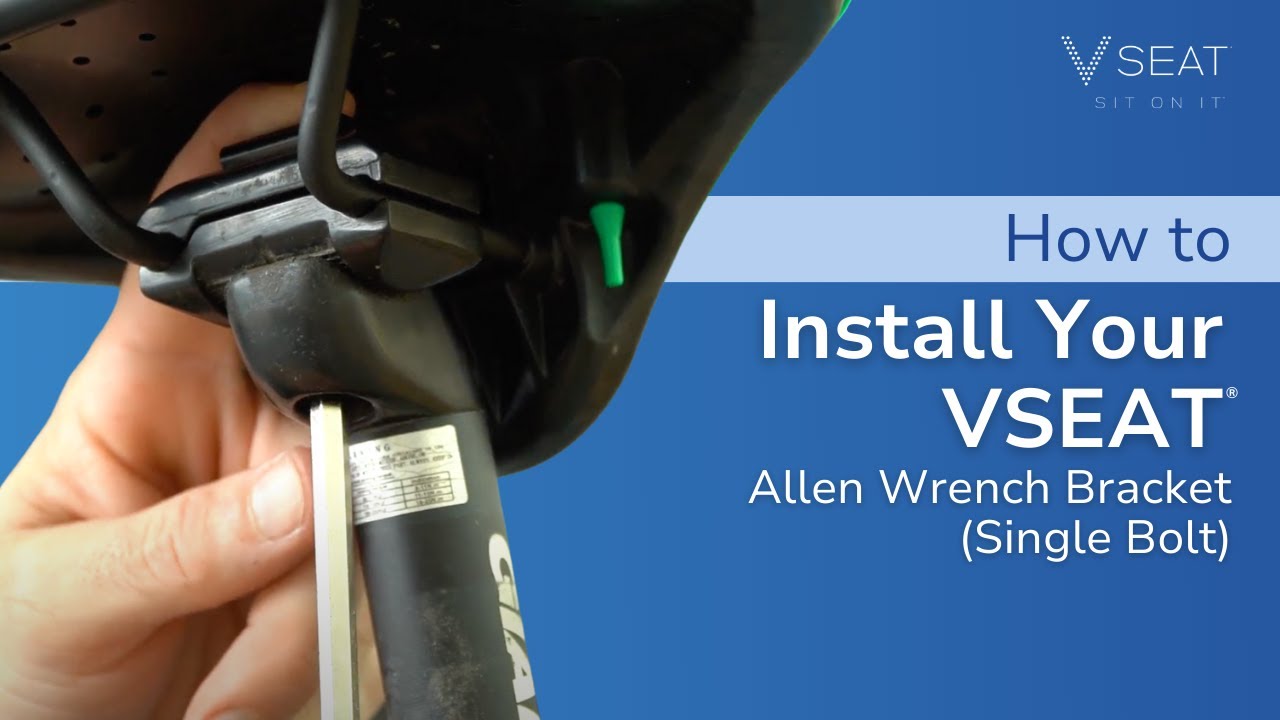
How to Install Your VSEAT® (Double Bolt Allen Wrench Bracket)
We’re going to show you how to install the VSEAT® on a double bolt bracket. Start by finding the proper size allen wrench. We’re going to come down and we’re going to loosen the back bolt first. We do this because the front bolt is all about the seat tilt and you adjust that afterward. So we reach up. We’re going to loosen this as well. We loosen the bracket enough so that the seat rails can lift over one side and slide off of the other. Let’s grab the VSEAT® and we’re going to install the VSEAT® in the exact same way.
We’re going to put in one side of the seat rails first then we’re going to slide it over and get the other side here. Once we got that in, we’re going to hand tighten down the front bolt. When we feel like we have it snug and we like our proper angle, then we’re going to use the allen wrench and we’re going to tighten the back side. We make sure it’s snug. Looks good, feels good. There’s your installation.
-
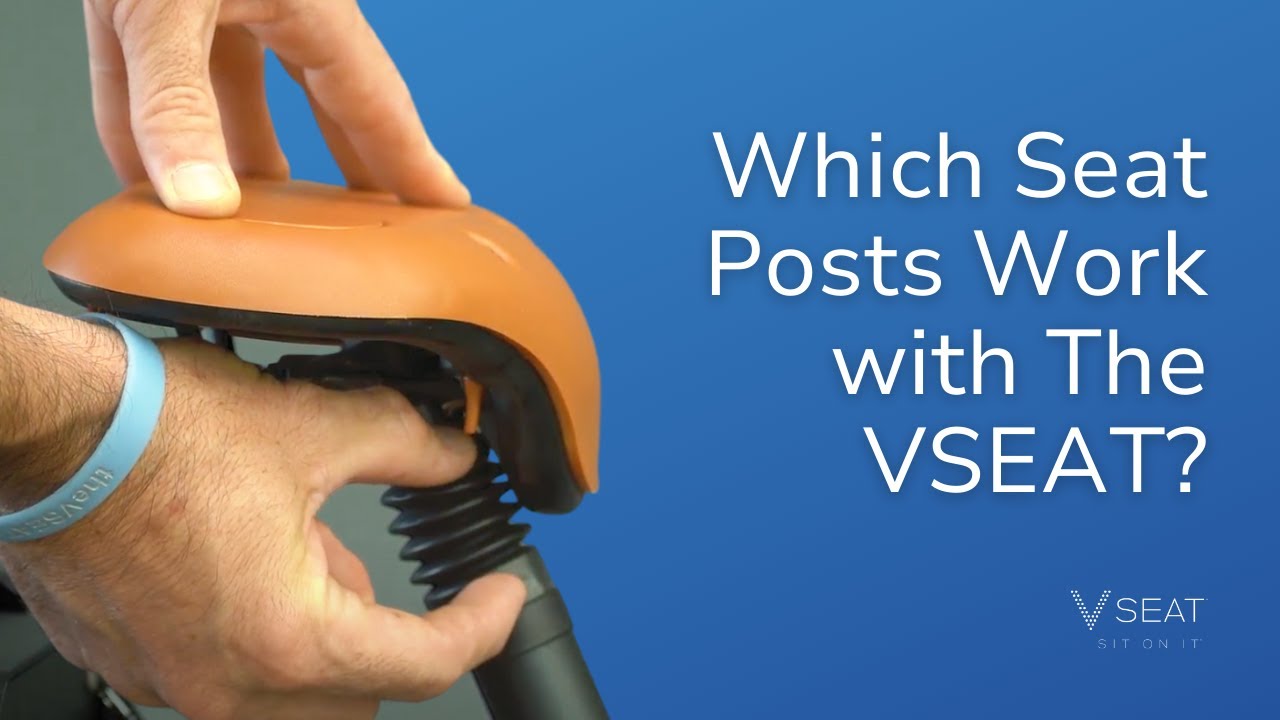
Which Seat Posts Work with the VSEAT®?
Okay. We’re here to talk about compression posts that are compatible with the VSEAT®. Any compression post in which the compression happens internally inside of the post is going to be great for the VSEAT®. Essentially what happens is, there’s a spring inside here when the rider hits a bump or goes over anything that they need the compression for, it all happens internally here. Any one of those compression posts work great with the VSEAT®; and how about those that don’t work with the VSEAT®.
The other type of compression post that exists basically all the compression happens here at the top externally, and you can see the compression. Usually it’s in the shape of a triangle and when the seat compresses, the triangle goes forward. Those do not work with the VSEAT®, because of our base which comes down in the front. It hits the base and stops it from compressing.
-
Tips to Set Up Your Bike Riding Position for Optimum Posture and Comfort
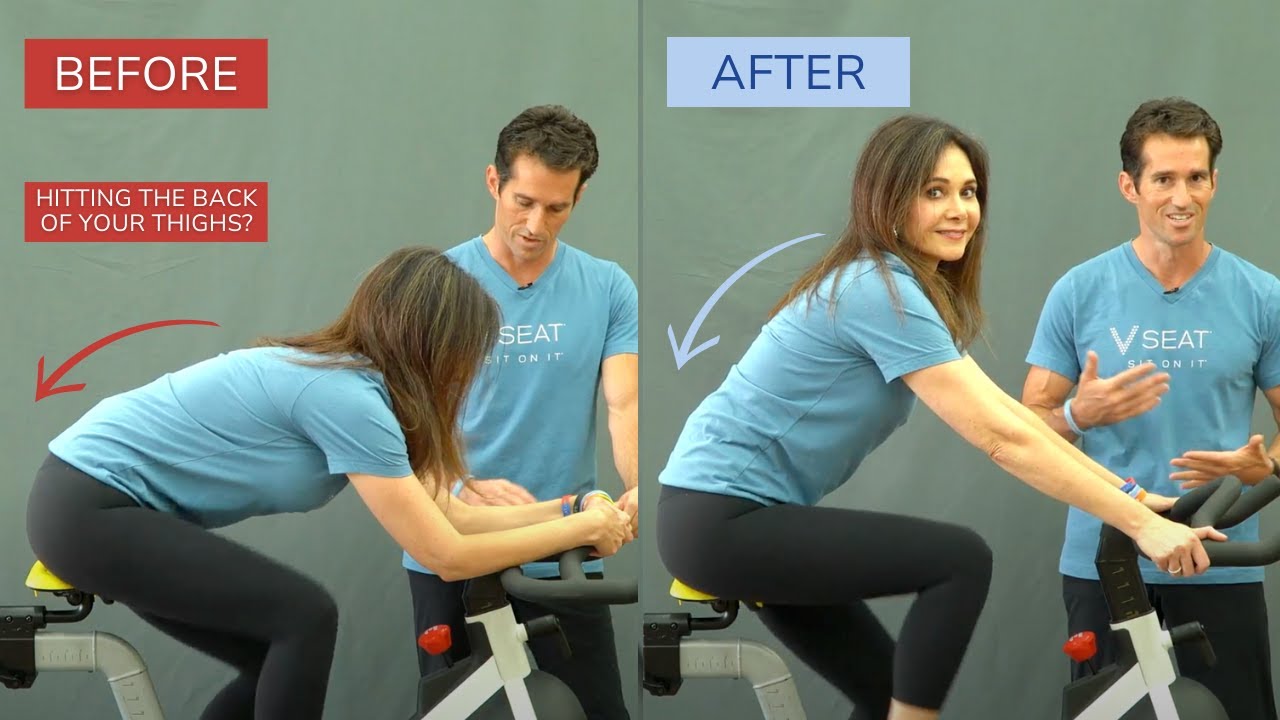
Hey guys today we’re going to talk about the ideal setup for your VSEAT®. Let’s begin with step number one. When you first get your VSEAT® ideally you want your VSEAT® to be at the same height or lower than your handlebars. I think we’re pretty good here. Okay, your next step after you get the VSEAT®, you want to make sure that when you sit on it, you can sit all the way up and it’s holding you. That you’re actually being supported. If you feel like you’re falling too far forward on the VSEAT®, you have it tilted too far forward.
Ani go ahead and please stand up. So, as you can see, this is basically level with the ground. But let’s just be sure it’s level. Okay, we’re looking pretty good now. On a spinning bike it’s ideal to have it level, on an outdoor bike you may want it tilted a little bit more forward. Go ahead and sit back down on your seat. Ani do you feel like the seat is hitting the back of your thighs at all? Maybe a little bit. If you feel like it’s hitting the back of your thighs, you can tilt the seat slightly forward but don’t overdo it. A little bit goes a long way
Now let’s just experiment right here. We’re going to lower her handlebars down. Do you notice any kind of difference when we lower these? Yes, if it does hit me behind the leg where the hamstrings are. So if you’re finding you’re getting that on your bike, especially a road bike, we will personally send you a handlebar riser to raise your handlebars up a little bit, which really makes a big difference in your ride. Go ahead and lean forward. This is way better. Perfect.
Ideal for a road bike is a handlebar riser. Not only because it’s more comfortable with the VSEAT®, but it’s actually a lot better on your neck and your spine. So there’s an added bonus with it as well. Those are the things you want to keep in mind for a proper setup for your VSEAT®.
-
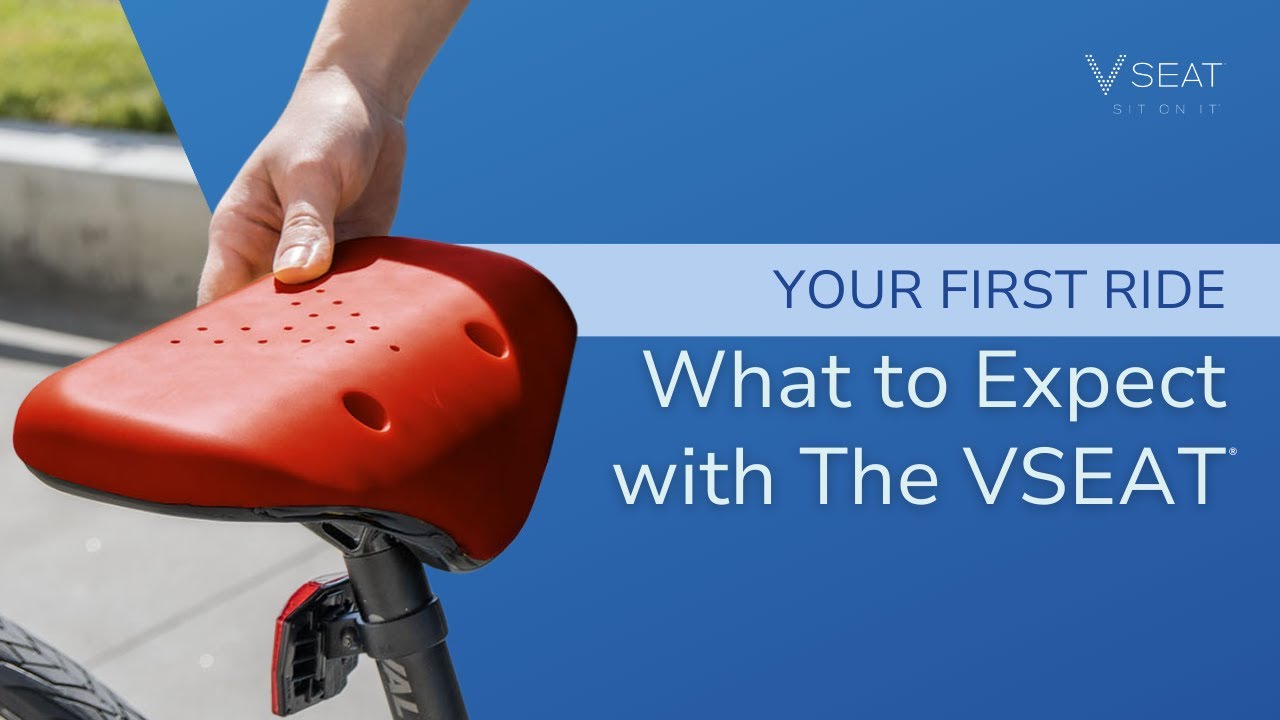
What to Expect on Your First Ride and How to Adjust to a Noseless Bike Seat
You may be wondering what it’s like when you first get your VSEAT®. Well it’s going to take some adjustment. Yeah, similar to some of our customers, when you first ride the VSEAT® you feel a lot of pressure on your sit bones. The pressure you’re feeling on your sit bones is the same pressure that was compressing the soft tissue before causing all kinds of medical issues. As soon as you get through this adjustment period, that all goes away, and magic begins to happen.
Some of our customers, they get it right away. Some of our customers it takes a little bit longer, two to three rides. But everybody, every single one of them that sticks with it is very happy they did. Trust us, give it that one extra ride or two. Because once you get used to it, you’ll never want to go back to your saddle again, and that’s all it’s going to take to get you to ride healthier and longer.
-
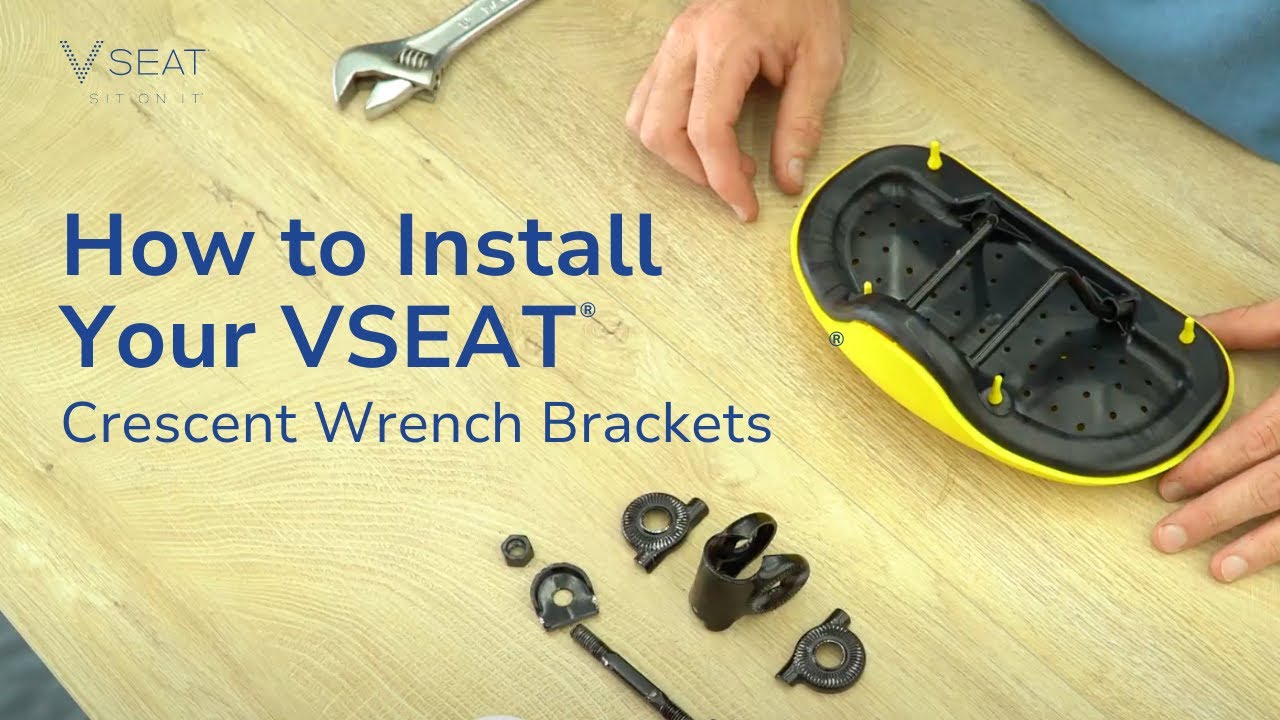
How to Install Your VSEAT® (Crescent Wrench Bracket)
Here’s how to install your VSEAT® on a crescent wrench bracket, also known as the knuckle buster bracket. Let’s begin with loosening the nut. Okay, so here we go, tighty ready loosy lefty. We’re going to loosen this enough so that it can be lifted off of the post. We got this off, now we’re going to loosen it all the way. Unscrew this side so it can loosen off. We take this off. We’re setting our pieces so we can see what we’re doing.
This is another little piece that helps hold the bracket to the rail, so we’re going to put that right next to the nut. The nut goes against that. Then we’re going to take the bolt out and we’re going to keep this whole bolt piece together as one piece, because that’s what’s going to go back in when we move it to the next bracket. This piece right here comes off by bending off, this is three parts. Now that we have this apart, we’re going to switch to our VSEAT®. We’re making sure our VSEAT®, the front of the VSEAT® is the same as the front of this when we took it off, so that we don’t get confused.
We’re going to do it the exact way that we took it off. We go put the teeth outside part of the rail holder against the post bracket. We’re going to put it up against the rail. Then, we’re going to take the outside of the post bracket part with the teeth and we’re going to put it against the rail of the VSEAT®. We’re going to bring them together and we’re just going to push them and wedge them, so that they hold each other in with a compression fit.
Then, we’re going to re-thread our bolt. We kept the nut on the bolt along with the outside of the rail bracket. We’re going to slide that back through until it comes all the way in on this side. Then, we’re going to put the other bracket on the outside of the rail bracket part back over, so that it holds that in. Then, we’re going to hand tighten the nut on this side. Remember when starting with your seat, if this is your first time riding with it, ride with the seat level. We want this nice and snug, so that the seat shouldn’t move at all on your post. Feels good, looks good to me. There’s your VSEAT® installation on a crescent wrench bracket.
-
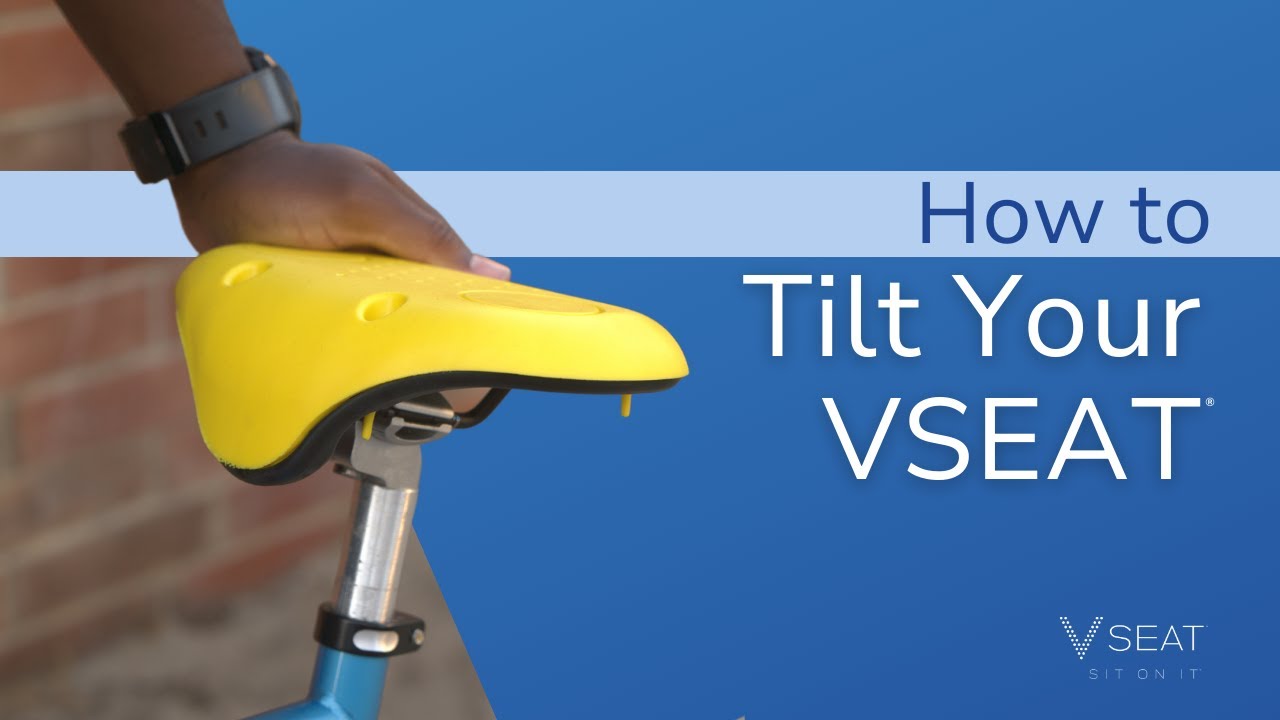
How to Tilt Your VSEAT® Correctly
Hey guys. We discussed the importance of tilting your VSEAT®. Here’s how you do it. Start with your VSEAT® level. Depending on the type of your bracket is going to determine how you can tilt your seat. This particular bracket is a single bolt allen wrench bracket. So I’m going to loosen it up. Always remember, tighty righty, loosey lefty. I’m going to tilt my VSEAT® slightly forward. Only one click forward because a little bit goes a long way. Then I’m going to tighten it back up check our angle. Looks good to me.
-

How to Position Your Sit Bones on the VSEAT®
Okay. Let’s discuss the proper support of where you should be feeling it when you’re riding. Which is on your sit bones, hence the name sit bones. Go ahead and have a seat. Now we’re going to get all up and close and personal with Ani here, so that we can really get an idea of the support. Go ahead and do some revolutions. So as you guys can see, there’s really I mean there’s nothing here. Right. If you were to zoom up, you can see that she is really only on her sit bones. Okay, so now let’s come around to the back side and see what’s going on.
So if we take a look here, I mean literally, you can see that her sit bones are going right on top of these circles. Go ahead and sit back down. Boom, perfect. Let’s take a quick notice exactly how her spine is aligned. The beautiful thing about sitting on the VSEAT® is that you’re only going to be using your sit bones. And to maximize the efficiency of the way that the VSEAT® works, it’s going to require you to sit with good posture naturally.
If you’re not sitting with good posture on the VSEAT®, you’re not going to have as much contact as you should. So just another added benefit of the VSEAT® is that you’re going to gain awesome postural muscles. Okay. So now we’re going to put her on a traditional saddle and we’re going to look for the the subtle differences, that aren’t going to be so subtle between the traditional saddle and the VSEAT®. All right go ahead and sit on it. I know it’s painful. Okay, so once again getting fresh with Ani here and zooming up.
Let’s take a look exactly where this is hitting her. And well, unfortunately, you can see this big long protruding nose jutting out here. You can only imagine what is being supported on that. Let’s come around to the backside and take a look at the backside. Now this is my sit bone. My sit bone is not even touching the saddle. Okay, so as you heard, her sit bones are not even touching the saddle. In fact, as you guys are seeing, other than the nose sticking out the front, can you even see the saddle? No. And that’s a bad thing, that means it’s disappeared up into that soft tissue. We’re barely hitting the sip bones.
I’m just going to make a little experiment here, this is science. I think they’re out here on the outside and that is not good. So this is crushing her right now and I don’t know how anybody can endure that. So one of the things that I feel when I’m sitting on the traditional saddle is my labia, the vaginal area, the labia are in complete contact with the nose. And if I lean forward, if I want to ride more aggressively, everything in that area is in complete contact. There is no freedom.
Everything is going to hurt when I get off this thing. I know it. Okay that’s enough. I can’t stand to see my partner in so much pain. Let’s put a VSEAT® back on. Okay, we got a VSEAT® back on. Let’s just have her tell us about the difference. Okay, so sitting up, nothing, nothing, the only contact point are my sit bones. And if I lean forward, nothing again. It is great, there is no contact. This is total freedom and joy, totally, and it’s not just because it’s our product. It really is great. So you’ve seen the difference now. If you haven’t watched our fitting video make sure you check out the fitting video and you can get your VSEAT® on our website. Check it out.
-

How to Fit Your VSEAT®
Hi everyone. So we’ve gotten a lot of questions about the fitting for the VSEAT®, and how to get it perfect for you. And today Bryan’s going to walk us through just how you do that. Definitely. Great idea tuning in because the VSEAT® is truly a different ride. All right, so let’s start with the basics. You’ve received your VSEAT® and you’re wondering, where do I even start with this? Here’s a good rule of thumb. Stand up right next to your VSEAT®, and you’re going to put the height somewhere right in the middle of your butt, so not too high not too low.
Start in the middle to begin with. What you’re doing ideally is you’re sitting on your sit bones, which sit another inch or two down here. The difference between here and your sit bones is basically making up for the difference between the pedal and the ground. Go ahead and have a seat. All right, so you’re sitting on your VSEAT® now and you’re doing some pedaling. May feel strange at first. You can go ahead and stand up and sit down a couple times. There you go. And let’s just do it one more time and sit back down.
Perfect. What this does is eventually gets your brain used to learning where to sit properly, which is on your sit bones, as we’ll get into in a little bit here. But first, let’s pay attention to the leg extension and make sure we have proper leg extension. Now what we’re going to have you do is pedal and hold your foot at the bottom of the pedal, so right about here. So, when your pedal’s at the very bottom you want almost full leg extension.
This is proper for whatever bike seat you’re riding, whether it’s a saddle or a VSEAT®, you want about full leg extension but not fully. Go ahead and do a few more revolutions. Let’s just pay attention to how her legs look here. What we’re going to do next is throw on a traditional saddle and you will see that her leg extension is going to be similar, even though the height of the seat will change a little bit. Go ahead and stop, and step off. Perfect. So just so we can see the numbers of where we’re starting at, we take a look at the height here and with my finger across, we’re looking we’re at about 34 and a half inches from the ground up.
Let’s go ahead and change out the seat. I’m going to hand this to my lovely assistant here, also the boss. Okay, pop this, let’s take a look at our height now to make sure we’re similar. So now we see that the top of this seat is easily 1 inch higher, we’re at 35 and a half and a little bit higher. So we’ve come up a full inch from where the VSEAT® was, and we’ve made no other adjustments. Okay, we’re going to have you go ahead and pedal on there. Oh my lord, this is not comfy. This is what we’re doing for you at home folks.
She’s sacrificing herself on a traditional saddle so that we can demonstrate proper fit. Okay, so let’s go back to looking at her revolutions. Now she’s once again, similar to where she was before. Let’s have you stop your foot towards the bottom. So you can see, once again, a similar knee extension, but as you saw before, that saddle is an inch higher. Here’s the reason why. Go ahead and you can get off of that now. No more pain for you.
So the difference between this and the VSEAT®. When you’re sitting on your sit bones, your sit bones are about an inch or two lower than the soft tissue that you are sitting on with your traditional saddle. On top of that, this is also going to squeeze the soft tissue up, it’s going to compress even more, and you’re going to lose some of your leg strength, or your your pedal cycle as the soft tissue compresses more. When you’re sitting on your sit bones, there is no compression. You’re on your bones, you’re on the structure, this is going to stay right where it is.
But you can see that there is a clear difference between the height of where your sit bones are versus your soft tissue, and that will make a big difference in the comfort of how you ride. I’m going to swap these back and we’ll go through through a few more things. You can throw that in the trash. Okay so going back to our proper fit, go ahead and hop on. Okay how’s that? How’s the difference? Oh my God, what a relief. You’ll notice the same exact thing as well. So going back once again, we see she’s getting her proper range of motion. Her sit bones are on the seat balancing her body properly, versus the soft tissue that goes up above.
Like I said when you first start riding, this is going to feel a little bit different, because all of your weight is now on your sit bones versus distributed among the nose of the seat and the soft tissue getting compressed. Supported properly, this is going to be a much more comfortable ride, but at first it’s going to be strange for the brain because it’s looking for that nose the first couple rides. Once you get through that and you’re used to this, you’re never going to want to go back. Get your VSEAT® today. Don’t suffer anymore!